
Put a flat, polished part under the camera and light it from the side. It can look surprisingly dark because the surface reflects much of the light away from the lens. Turning up the light does little to help.
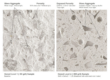
That’s when we try axial lighting, also called coaxial lighting. It sends light toward the part along the same axis the camera looks down. A flat surface facing the camera reflects that light back into the lens.
Upon reflection
One way to do this is with a beamsplitter. It turns light from the side toward the subject and lets the camera look through it. In an external axial setup, the beamsplitter sits in front of the lens, so the light reaches the subject without passing through the objective.
The smooth surface looks bright where it reflects light back to the camera. A feature that sends light off at another angle can show up darker.
Three captures you can explore
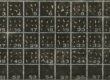
Explore Gene Cooper’s two meteorite captures and a silicon wafer in the GIGAmacro Viewer.
| Capture | Finished image dimensions | Source photographs | Recorded capture grid | Lighting recorded |
|---|---|---|---|---|
| Seymchan meteorite, larger capture | 65,615 x 38,221 pixels | 15,200 | 16 rows x 19 columns x 50 focus positions | Axial, polarized |
| Seymchan meteorite, smaller capture | 26,497 x 12,921 pixels | 1,680 | 5 rows x 7 columns x 48 focus positions | Axial, polarized |
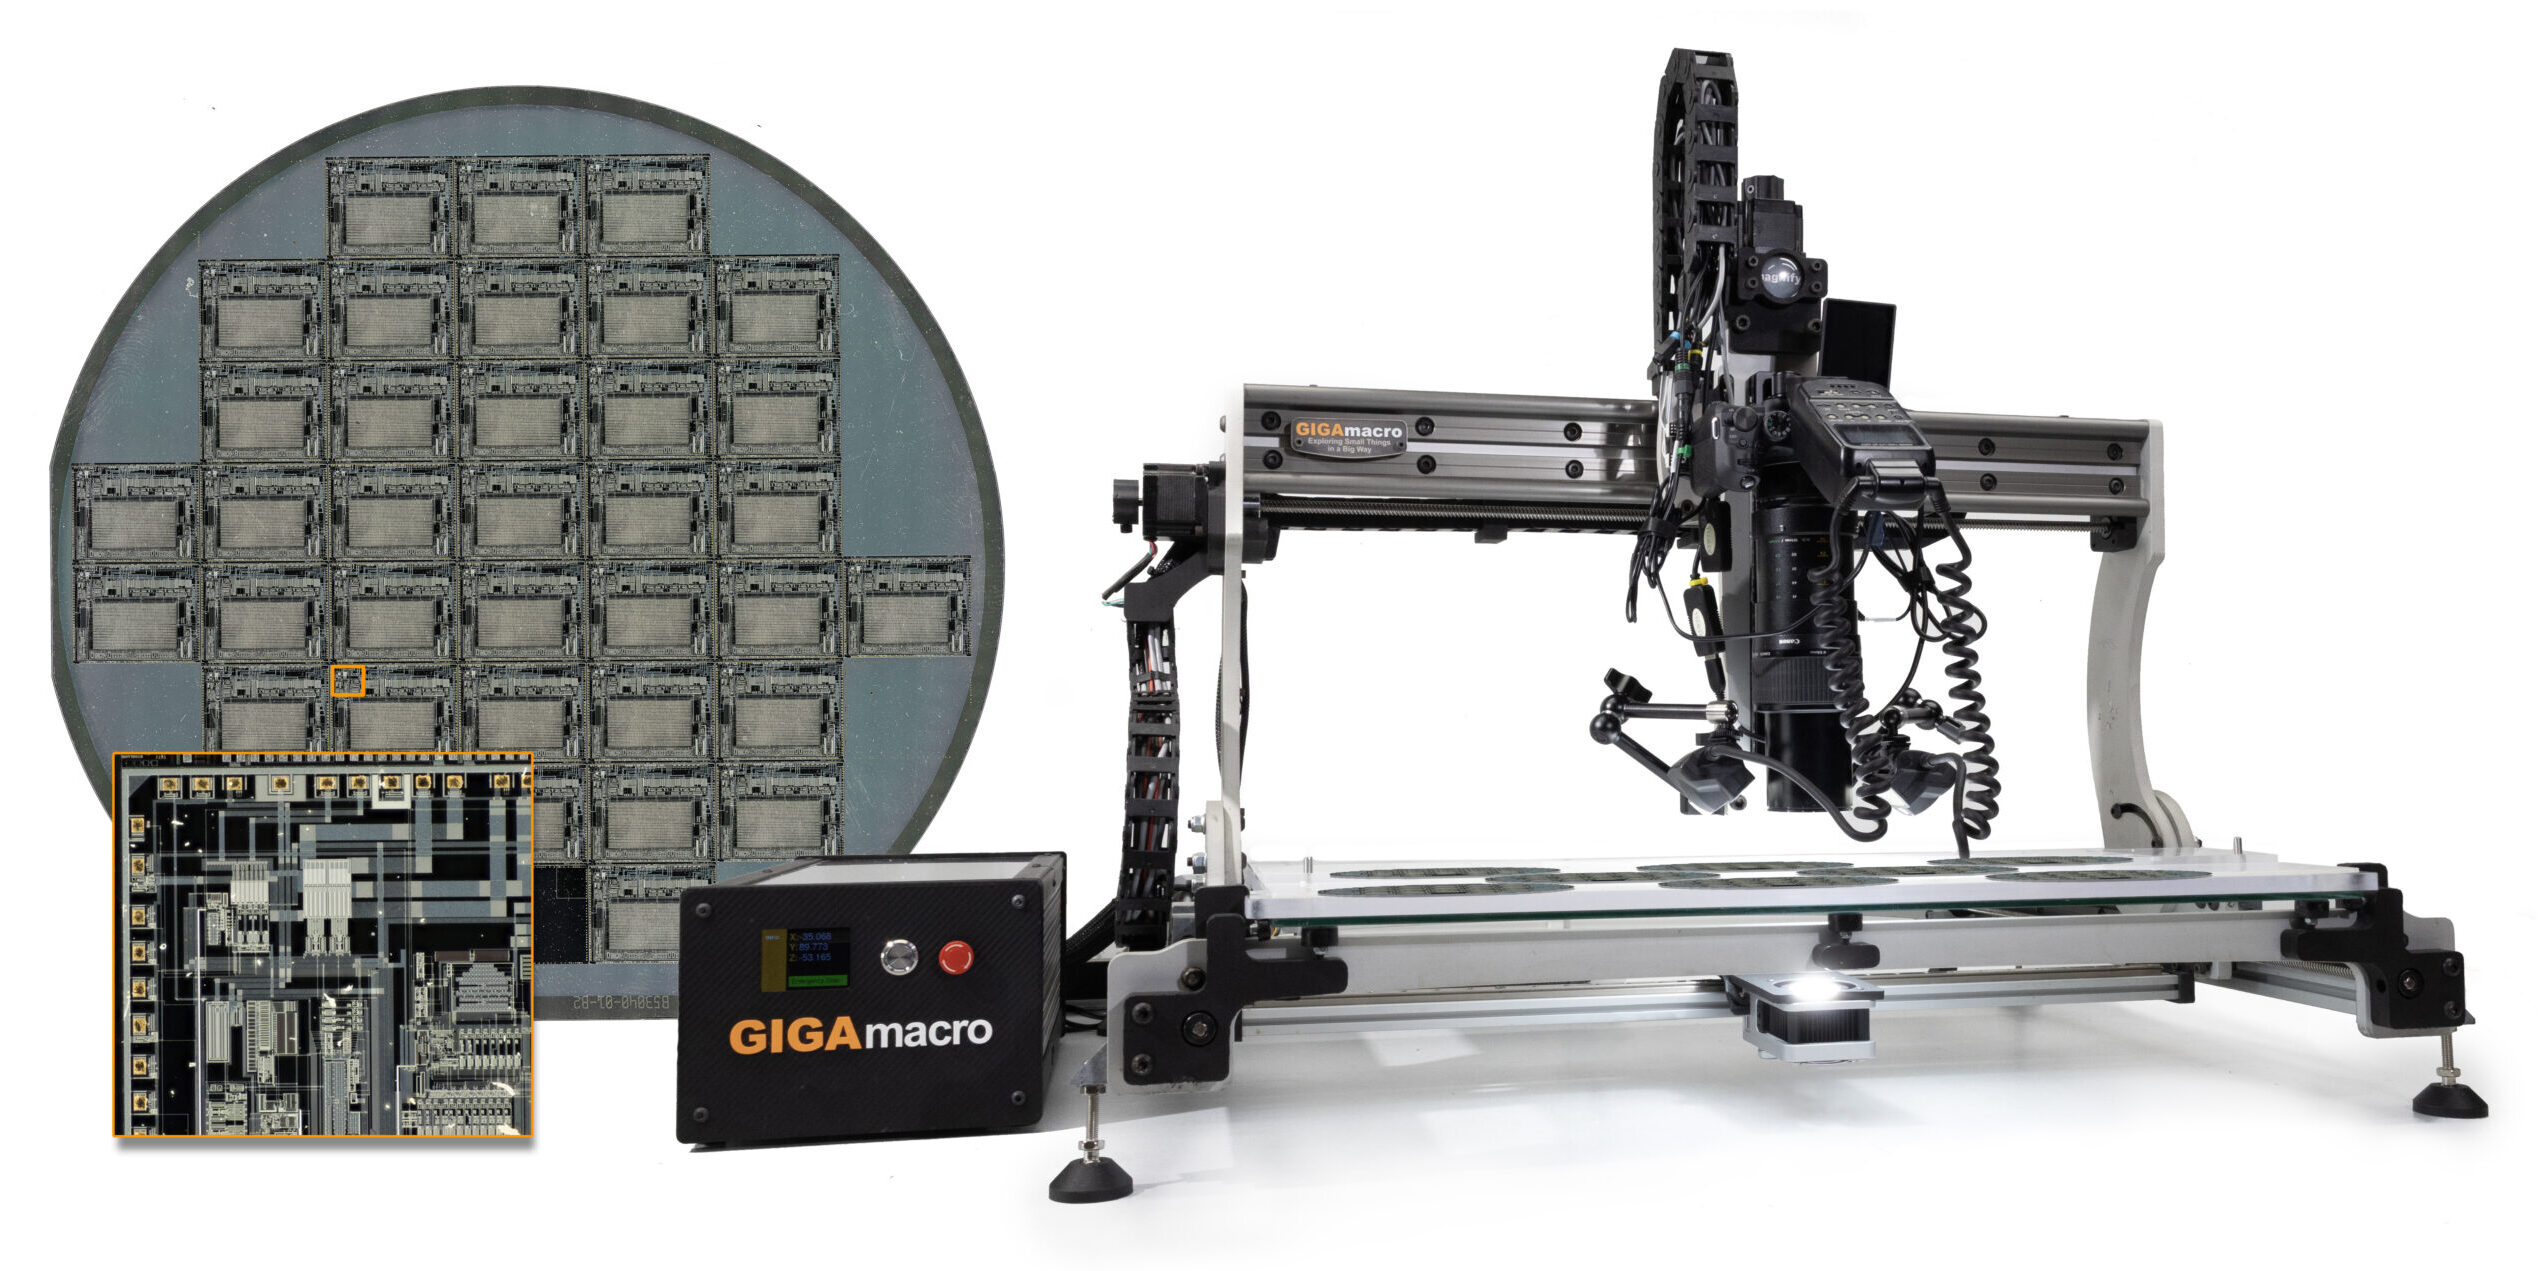
| Silicon wafer | 38,266 x 19,255 pixels | 1,440 | 8 rows x 12 columns x 15 focus positions | Axial, non-polarized |
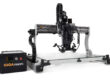
The records identify an Infinity KC VideoMax with an SIF4X objective and LFA. The two meteorite records spell the specimen name “Semychan”; we use “Seymchan” here while linking to the original records.
The meteorite captures used polarized axial light. The wafer used non-polarized axial light. Keep that difference in mind as you look around. The two meteorite images also differ in pixel dimensions and frame count.
Test a small area first
Before running a complete capture, we recommend a short lighting comparison on a representative area of your subject.
- Identify the feature you need to record. Choose an area that includes both that feature and the surrounding surface.
- Capture a reference using your existing lighting, then try axial illumination at the same framing and magnification.
- Set the exposure for each lighting setup. Make sure you can see the feature and still make out the detail in the bright areas.
- Inspect more than the center. Check the intended field for uneven brightness and loss of contrast before committing to the full run.
- Record the lighting arrangement, polarization state, exposure and specimen orientation so you can repeat the setup.
If you need to see a scratch or an edge, try low-angle darkfield lighting too. Use whichever setup makes the feature easier to see.
Know the limits
A curved or tilted part of the subject can reflect the light away from the lens, resulting in dramatically different exposure requirements. Check the edges of the area you plan to capture as well as the center. A beamsplitter costs you light, and working distance affects how much of the field you can illuminate evenly.
These three GIGAmacro Viewer images have no recorded scale. If your job calls for measurements, include a known reference and check the scale in the finished image. If your job is to show a feature, check that you can see it across the area you plan to capture before you start the full run.
Gene is a creative innovator and developer with a passion for developing scientific tools, exhibits, and educational programs that provide new ways of exploring the world both literally and figuratively.
Photography is a common thread in his life and work, which has come a long way since childhood years experimenting with unique perspectives, angles, filters, and time-lapse exposures.
He founded GIGAmacro to build robotic devices capable of capturing gigapixel photographs with microscopic detail and developing new visualization tools for comparison of complex imagery for research, science, and education.